The Cash Flow Tab is beneficial for those that seem always to pay their bills a little late. The Cash Flow Tab is paying attention to when money enters and leaves your account. When you know when money is coming and going, you can plan your expenses and utilities much better.
-
Graph Basics
By default, you will see a line graph of your cash flow for the last three [3] weeks. When money comes into your account, you will see the line ascend. When you see cash leaving your account, you will notice the line descend.

If you look at the dates to the bottom left of the graph in blue, you will notice that this date goes two [2] weeks into the future.

The grey shaded area in the graph is Money Management’s prediction of future cash flows based on your history. This graphic helps to inform when money might be deposited and when regular bills are scheduled to be paid within the next two [2] weeks.

You can also switch to the calendar view by clicking on the “Calendar” button on the top left of the module.
-
Adding Events
If you notice that some regular cash flow events (money coming in or out) are not represented in the cash flow prediction, you can manually add them in. Add the events by clicking on the blue “+ Add an Event” button in the top right of the module.

A pop-up menu will appear with a list of transactions that Money Management thinks may be regular payments to include. Feel free to click on the green check mark to include this event, or the red X to keep it excluded.

If you wish to include an event that isn’t in the list of suggestions, click on the tile that reads “Create Your Own” in the bottom left of the pop-up menu.

You will have two [2] options to choose from:

- Based on Past Transaction – This option allows you to search through your transaction and find a recurring cash flow even you would like to include it. For example, add weekly groceries to your cash flow by finding a grocery store purchase that represents your average grocery store visit. You can then choose the frequency of this expenditure. Once you are ready, you can click on the blue “Save” button, and now that event will be included.
- Start from Scratch – Here, you can manually add an event. Enter a name for the transaction, an amount, and select whether this is an expense or income. Then decide which account this is coming from/going into, the frequency, and finally choose a budget category if you so desire. When you are ready, feel free to click the blue “Save” button in the bottom right of the pop-up window.
-
Useful Tip
We would recommend beginning by clicking on the “Filter Accounts” text in blue in the top left corner.

Make sure only your primary checking account is selected.
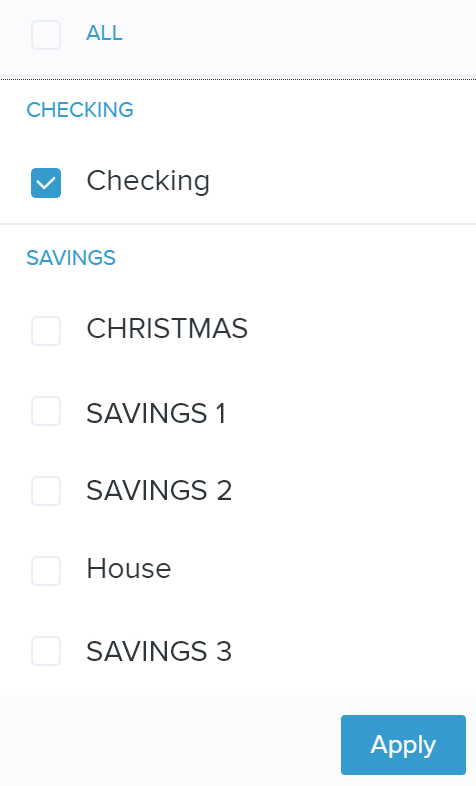
Filtering by account will provide the most accurate view of cash flows from the account you use the most. If you see areas of potential cash-flow issues, consider one or more of the following solutions:
- Review your spending
- Change the dates of your scheduled payments
- Schedule automatic transfers from other accounts to go into your checking account